Okay, so we’ve opened a hosting account and registered our domain name to create a wedding website. On to the next couple of steps:
- Signing in to our new account
- Setting up our email addresses
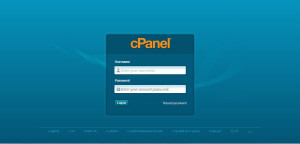
So, to sign in to our new Hostgator account, we’re going to click on the link they sent us when we registered our domain name. This is called the CPanel, which is our super simple control panel:
Once we’ve logged in to our CPanel, we’ll see the main screen:
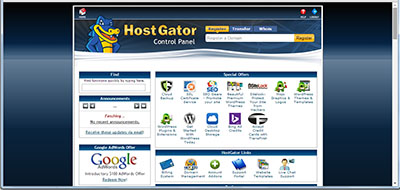
On the main CPanel screen, there’s a little icon that says “Email Accounts”. Click on that link, and you will be brought to the page that will let you create and manage emails associated with your new domain name. @mydomainname.com will already be filled in. You can make up whatever name you want to go before the @. So, if you want mary@mydomainname.com, all you have to do is add mary in the text field, create a password(you can create any password you want), then click the “Create Account” button. You now have mary@mydomainname.com as an email address. You can make as many email accounts as you want. So when you create a wedding page, you can have dave@mydomainname.com, mary@mydomainname.com, etc.
So, we’ve signed in to our account, and created our email accounts. Time to look at a bunch of sample wedding sites and choose the template we want to use!